

Every bride and event planner knows what the perfect colors and flowers are for a fall wedding or a winter wedding, but what about that grey area in between those seasons? No need to worry, because the flower experts at Blooms by the Box can show you that mastering double season DIY is not as difficult as it may sound! In this DIY bouquet tutorial, we’ll show you how to combine your favorite winter and autumn hues to create your very own beautiful in-between-seasons bouquet!
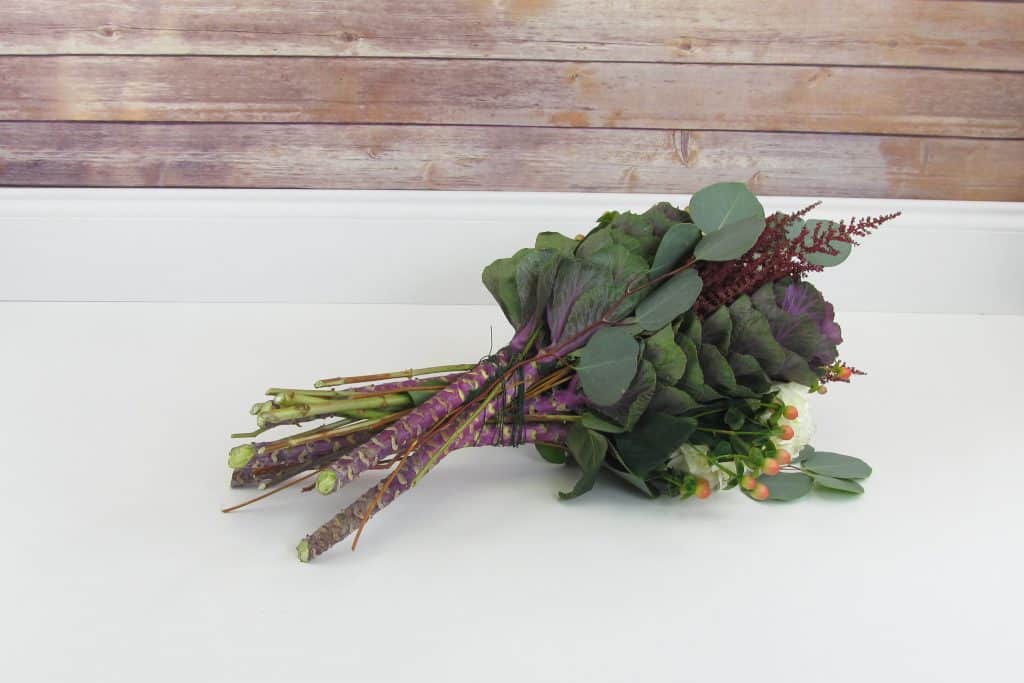
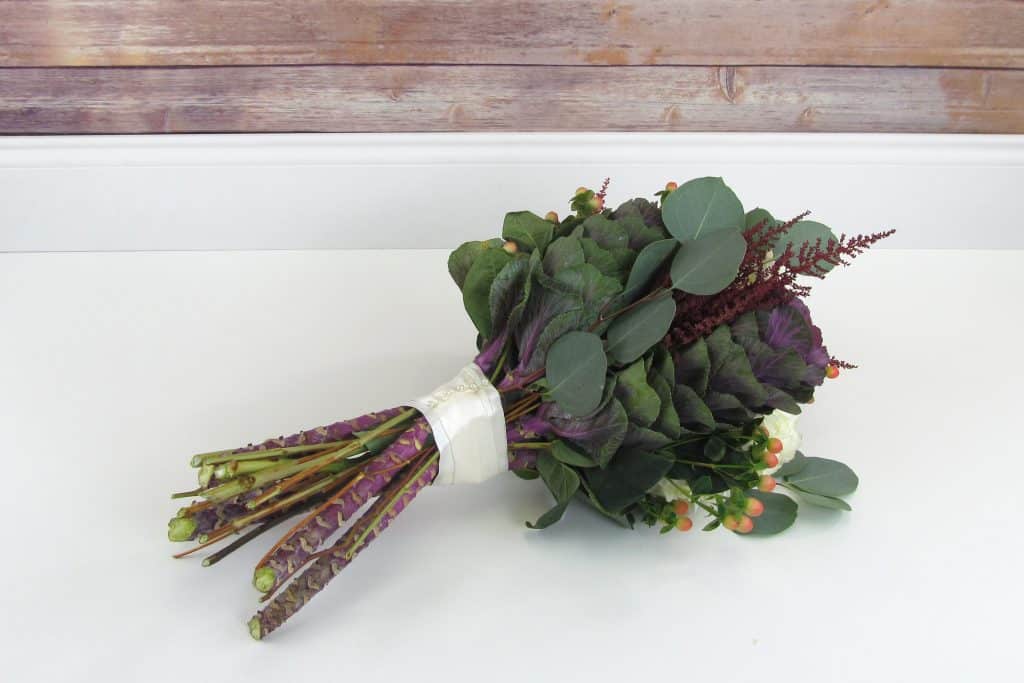
For this bouquet, we chose to include fluffy white Hydrangeas and white Astilbe to mimic the best part about winter – snow, duh! We also included burgundy astilbe and purple Kale to throw in the deep, rich colors that go perfectly with the drop in temperatures from fall to winter. Finally, we worked in peach hypericum berries to bridge the gap between both ends of the color spectrum and to remind us of those bright and burnt orange hues that we’ll miss when autumn says goodbye!
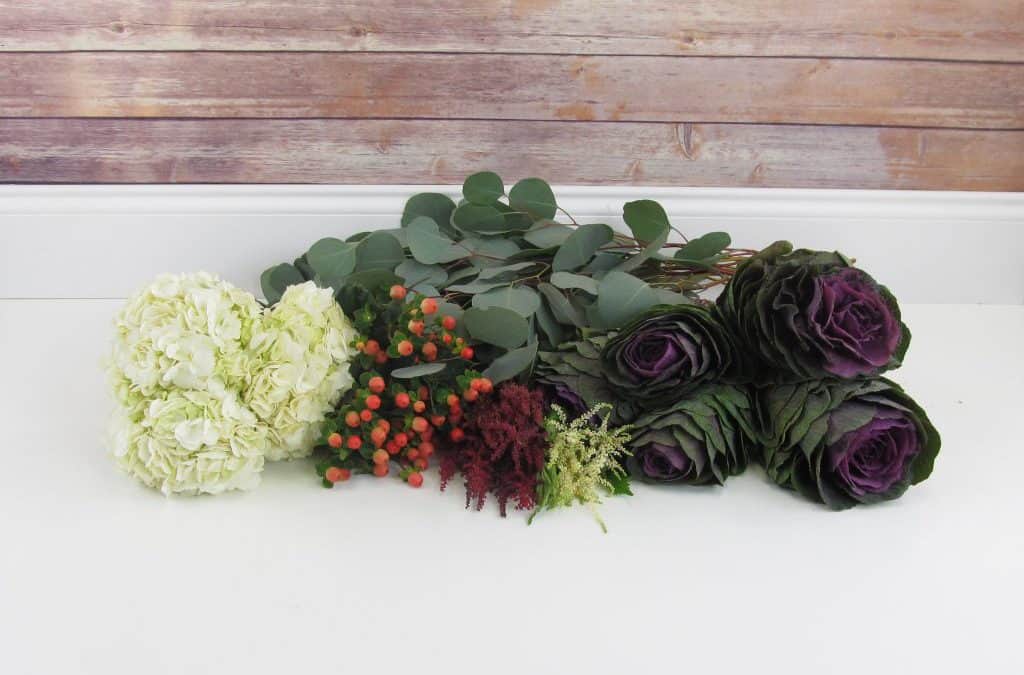
What you’ll need for this DIY Bouquet Tutorial:
– Silver dollar eucalyptus
– White hydrangeas
– Purple kale
– Purple trachelium
– Peach hypericum berries
– Burgundy astilbe
– White astilbe
– A pair of floral scissors
– One roll of floral tape
– A roll of floral wire


Follow these steps to create your autumn to winter wedding bouquet:
1. Cut and hydrate your blooms. Depending on the overall length of the stem, we generally recommend cutting about 1-1.5” above the base of the stem at an angle. Hydrate your flowers in warm water for a few hours.
2. Start with a focal flowers – we went with the purple kale and the white hydrangeas.
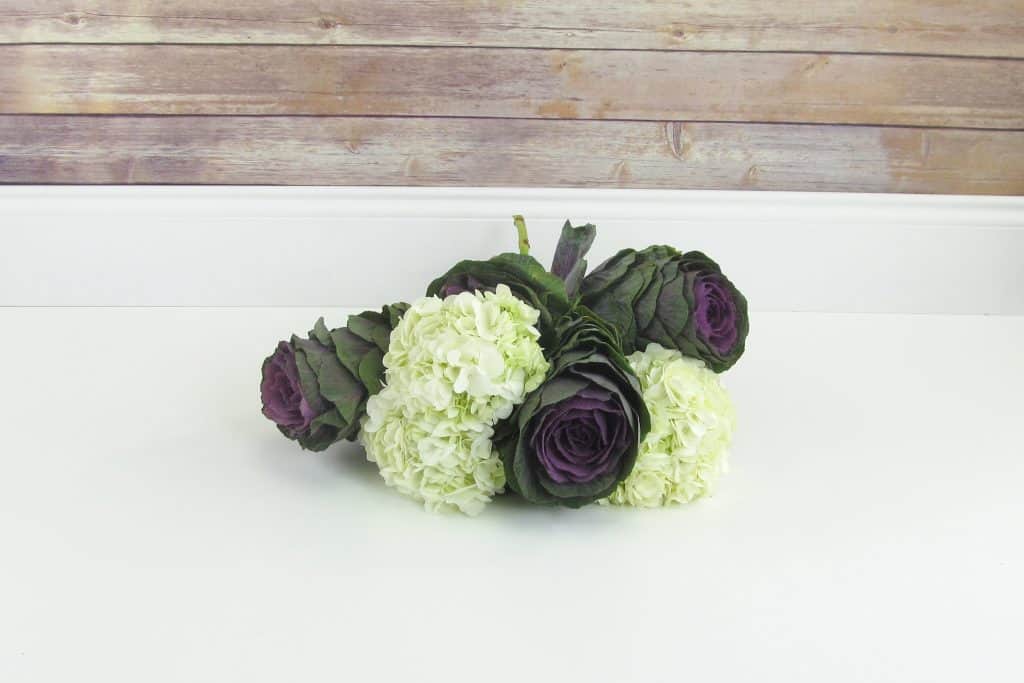
3. Add a filler, then alternate between adding focal flowers and fillers until your bouquet is a size you’re happy with.
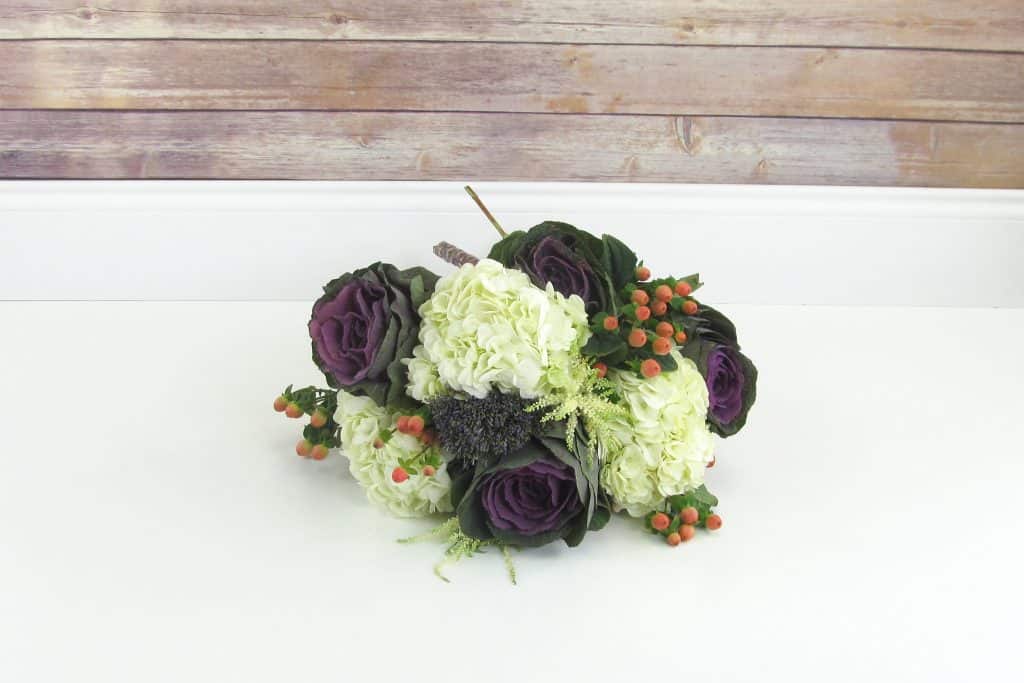
4. Repeat this process with 1 stem of each kind of flower/filler, building your bouquet until it is the size and fullness that you would like. If you would like greenery to fill out the bouquet, add those stems last.
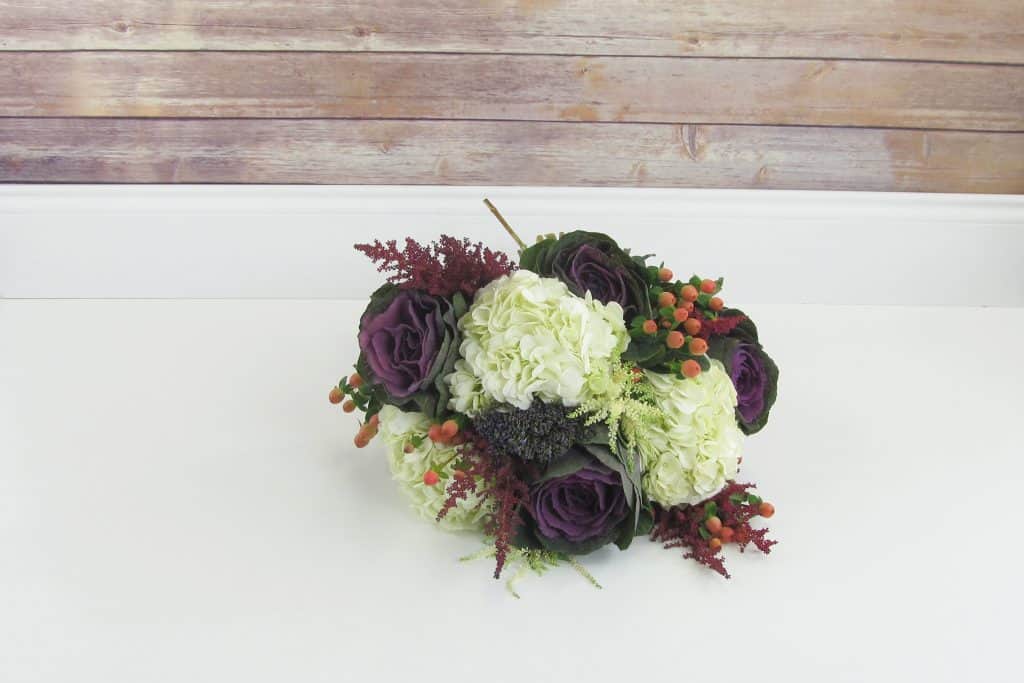
5. Frame your bouquet with greens – we used silver dollar eucalyptus.
**Because the stems of the kale are so thick, we secured each layer with floral wire. This will make it easier to add additional layers and will ensure that everything stays in its place!**
6. Wrap floral tape around the “handle” of your bouquet once you’ve finished adding flowers, fillers, and greens. Focus on covering the wire you’ve used to hold each layer together.

7. Wrap the ribbon or fabric of your choice around the stem, making sure to cover the stem wrap holding your bouquet together. We secured our ribbon in place using pearl-head pins. Cut all the stems to the same length.
8. Make sure to keep your bouquet hydrated and in a cool place until your event!
Kerry Plante
Kerry travels the world but always is on the hunt for creative uses for fresh cut flowers. She comes to BloomsByTheBox with many years of retail flower experience and floral design experience, which she uses to guide Blooms customers to the perfect flower selections.